

The JV InvenTeams Super Lens Activity Guide will lead educators and students through creative applications of light and exploring topics such as:
- How inventors solve problems
- Light rays and lenses
- Taking apart a cell phone and finding the optics
- Optical calculations
- Building a lens and creating a camera prototype
- Saving digital images from the camera prototype
Download the list of materials and tools used in this guide.
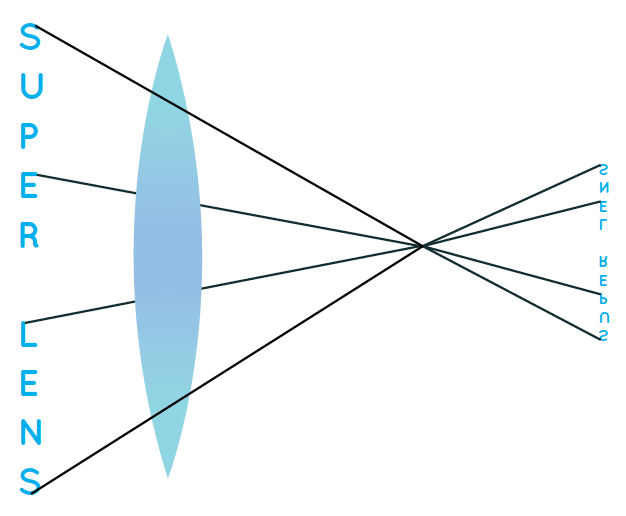
Description
Grade level: 6-10
Summary of lesson:
Students will gain both minds-on and hands-on skills in this unit to expand their toolkit. Minds-on skills include looking toward nature for insight into how humans and other species achieve
vision. They will learn how to calculate refractive index and focal length. They will also learn about the design process—identifying a problem, brainstorming, researching, “getting into the shoes” of the prospective user, sketching ideas, building, and testing.
Time/Duration:
Each unit is designed to be 90 minutes. Teachers break down the lesson based on schedule minutes and available time. Example: 7th-8th grade science teaches 1 unit a week, and he meets 3 days a week, once for 55 minutes and twice for 90 minutes. It depends on deep educators who want to take it.
Topics covered:
-Design Process
-Optical Calculations
-Materials
-Prototyping
Subject areas/Standards:
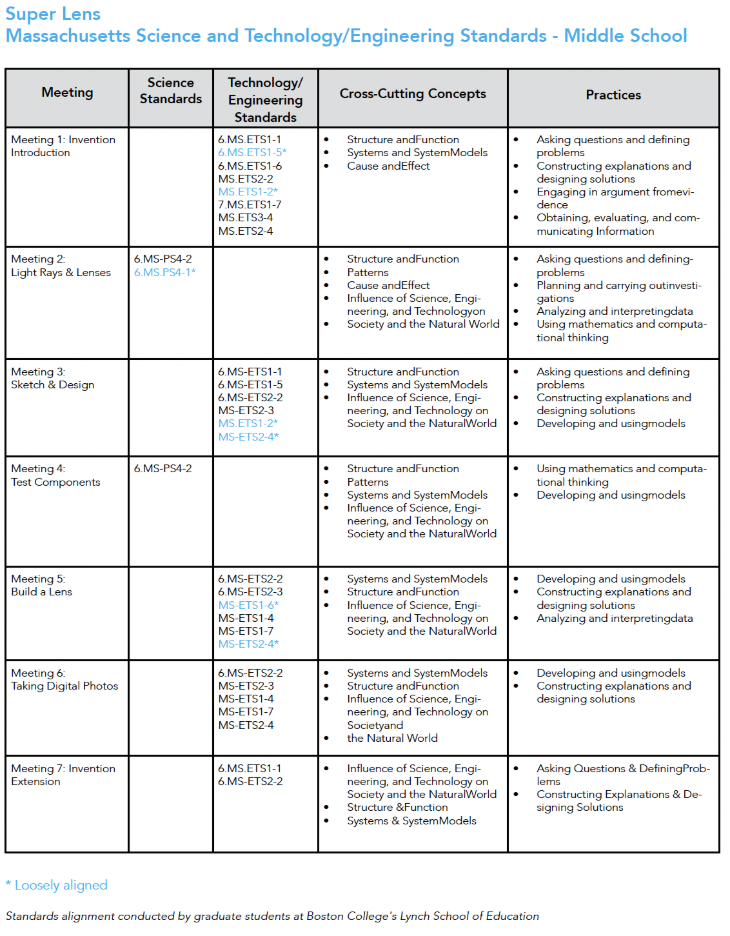
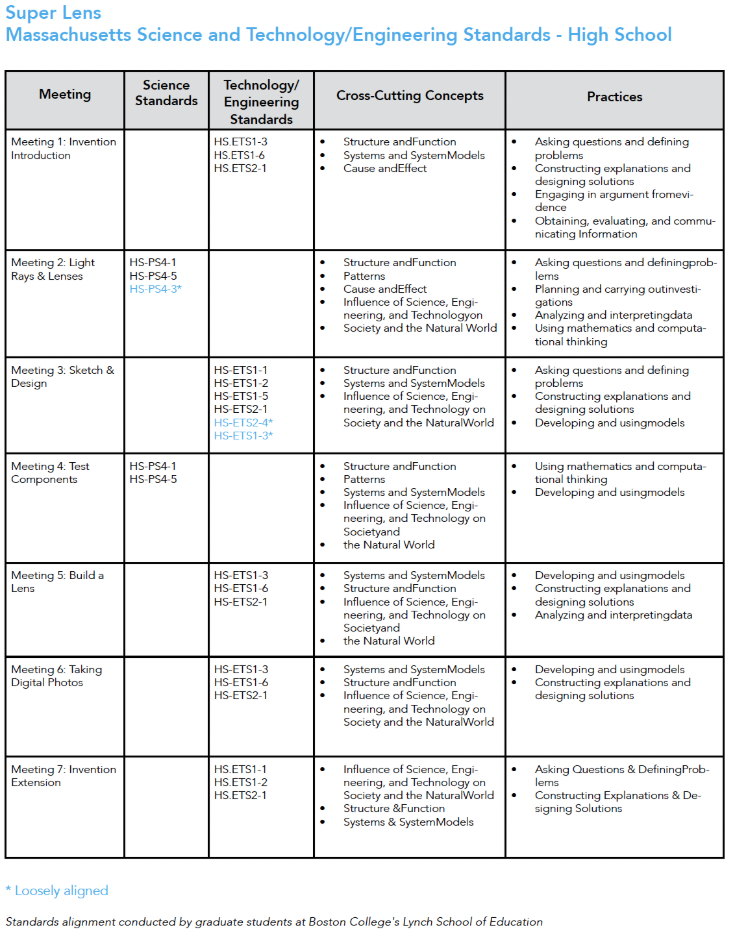
Breakdown of lessons:
1. Invention Introduction
Introduction to invention and JV InvenTeams. Students do warm-up activities and discuss invention. Students play “Four Corners” to help the educator assign diverse teams.
2. Light Rays & Lenses
Students take apart a smartphone phone to examine its camera, including the optics and the image sensor. They learn how others are improving smartphone lenses, drawing inspiration from human and animal vision. Students learn to calculate the refractive index of a lens material.
3. Sketch & Design
Students shine light beams through various lenses to learn how light bends. The educator introduces the main design challenge of the unit. Student teams begin researching various users of cameras and lenses. Students learn to cut cardboard safely.
4. Test Components
Team members calculate focal lengths of various lenses. Based on calculations, they will find a lens that suits their chosen design.
5. Build a Lens
Students learn to create a prototype. Team members build a lens prototype out of glass lenses and cardboard. They test for focus and brightness.
6. Take Digital Photos
Students capture images on their prototype lenses using a smartphone, evaluating properties such as optical zoom and angle of view. Students learn about real-world invention from an engineer
of low-cost optometry equipment, energy turbines, and robots. Team members use their toolkit of new skills to brainstorm ideas for inventions using lens design, optical concepts, and the prototyping process.
7. Invention Extension
Students display their images in printed form and provide feedback to other teams. Students conceptualize a new purposeful invention that uses lens design, optical principles, and the prototyping process.
Download the list of materials and tools used in this guide.


